
Guide · 6 min read
How to turn a photo into a comic (step by step)
A practical guide to turning a photo into a real comic page: choosing the photo, writing the moment, picking a style, and keeping the person recognisable on every panel.
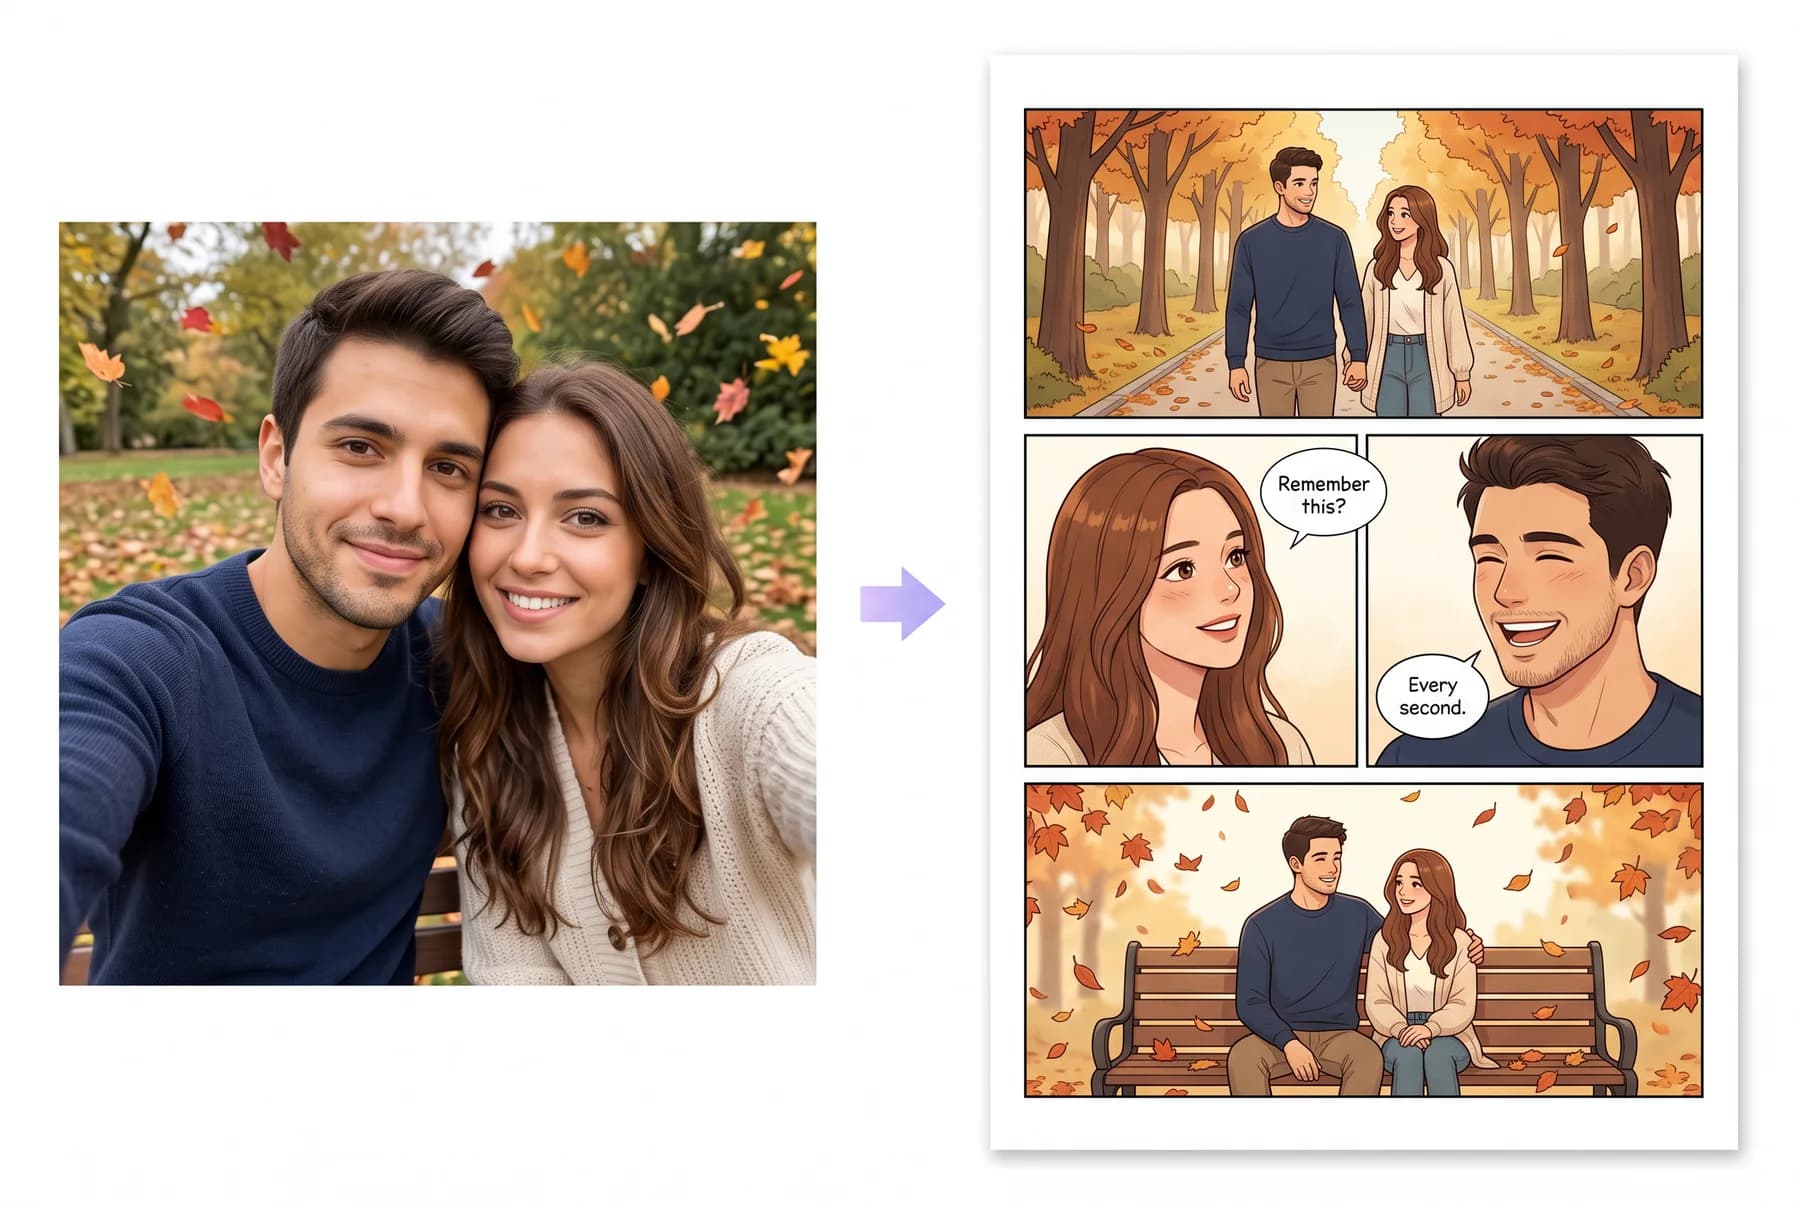
What “photo to comic” actually means
There are two very different things people mean by turning a photo into a comic. The first is a filter: one image, redrawn with thick outlines and halftone dots. The second is a comic, a page with panels, a sequence of moments, speech bubbles, and a person who looks like themselves in every panel. This guide is about the second one.
The difference matters because a filter gives you a picture; a comic gives you a story someone can read. If the goal is a gift, a keepsake or something you'd print, you want the page.
Step 1, Pick a photo that shows the face
The photo is a reference for the person, not the scene. The scene comes from the story you write. So the ideal photo is boring: front-facing, good light, no sunglasses, no hat pulled low, one person per photo if you can.
- Front-facing and sharp, a selfie is perfect.
- Natural light beats flash; flash flattens features.
- Hair visible; hats and hoods hide the shape.
- One person per photo. For couples, upload two photos rather than one group shot.
Skin tone, hair and glasses are kept from the photo. If they look right in the photo, they'll look right on the page.
Step 2, Write the moment, not the plot
You don't need a script. A comic maker works from a moment: where you were, what happened, how it ended. Two or three sentences is the sweet spot. “We grabbed the same umbrella outside the station. It rained for twenty minutes. Neither of us mentioned we had somewhere to be.”
Name the setting and one concrete detail. Panels are built from details, a cup, an umbrella, a bench, and vague stories produce vague panels.
Stuck? In Comikaze, tap “Surprise me” to get a story hook you can edit.
Step 3, Choose a style that flatters real faces
Not every art style is good at likeness. Styles with clean linework and natural proportions, manhwa, webtoon, watercolor, slice-of-life, realistic, keep a person recognisable. Highly stylised looks (chibi, rubber hose, caricature) trade some likeness for charm, which is great for birthday comics and less great for a wedding gift.
If in doubt, start with manhwa. It's the most popular style for comics starring real people for a reason.
Step 4, Decide the length
A single moment fits in 4–6 pages. A whole story, how you met, the trip, the year, reads well at 8–12. Longer than that and you're writing a graphic novel; better to make a series of shorter chapters with the same cast.
Step 5, Check the pages, redraw the odd one
Pages usually start appearing within a minute. Read them as a reader would: does the sequence make sense, do the faces hold, is the dialogue in the right mouth? Any page can be redrawn with a short note (“make it evening”, “she should be laughing”). Then download at full resolution and print.